
Do you have a garage? If so, do you have extra garage storage that helps keep all the “stuff” contained? Or, is the stuff scattered in piles or stacks and causing you stress? If so, my next few garage posts are for you.
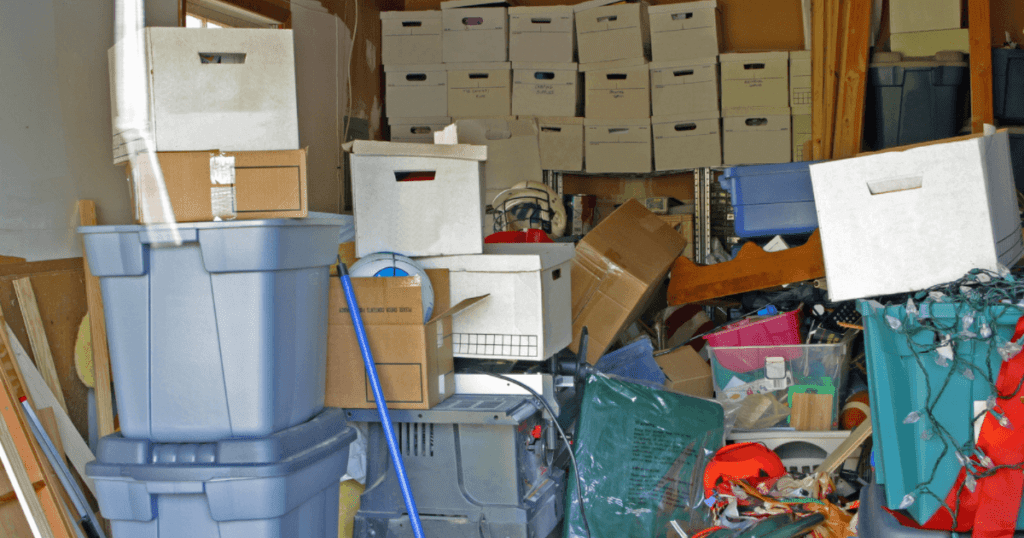
Garages come in so many styles and sizes, but one thing remains consistent, we sure know how to stuff them full of crap!
Okay…don’t feel attacked. I have a ton of crap too. And I’m a very organized person!
ALL minimalists and many organizers will tell you that you don’t need all this stuff. I try my best to live as minimally as I can, but the truth of the matter is that my family has a lot of stuff because we use it.
We have a pool, so we have a lot of cleaning gear, toys, etc. I have two boys that play sports. We are like so many others keeping tools, car care supplies, bikes, and a whole host of other activity and hobby gear stored in our garage. In other words, we need extra garage storage to keep it orderly and functional.
If you are like us and have a lot of things you actually use, you must keep it organized, or it will bury you. You need extra garage storage to keep things separated, categorized, and easy to find.
For the rest of you, I have bad news. If you have tons of stuff in your garage that you don’t use, you need to get down to the difficult task of getting rid of it. Once that task is complete, you can move into the process of categorizing.
Garages are tricky! Their primary purpose is to store our vehicles. But they are sometimes large enough to hold many other things as well. Unfortunately, they often turn into a catch-all area for the items we don’t know where to put.
One definition of the word garage is “a building used for the storage or repair of automobiles.” So a garage, by its very nature, IS storage.
What I mean by extra garage storage is storage inside the garage. Storage that keeps things efficient, neat, and most importantly, easy to find. It can be bins, trunks, cabinetry, and storage racks.
If something doesn’t have a designated spot inside your house, it will inevitably end up in a closet or the garage. Appoint a spot for it, and you’ll be so glad you don’t have to check several spaces trying to find the item. I try to be mindful and not use the garage as a dumping ground, but it happens.
The Problem- No Clearly Defined Zones and Extra Storage Needed
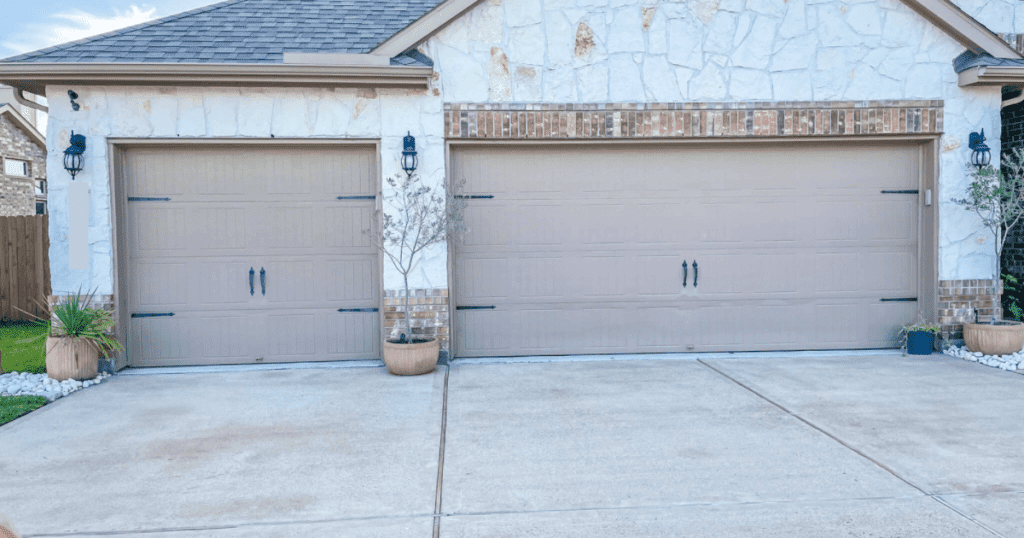
My family has a three-car garage. I didn’t lead with that because it is a little embarrassing to share that we have a three-car garage and then talk about how we need extra storage.
If we didn’t keep any cars in the garage it wouldn’t be an issue. I have many neighbors who don’t park in their garage. I’m guessing it’s because they need the storage.
The larger side of our garage can hold two cars easily. However, the one-car side, in my opinion, is a little tight for parking a car. My husband uses it for his tools and workbench. He also uses it as a workout area.
Let me add that you probably won’t see an organizing post from me about this side of the garage. I’ve been trying for years to get my hands on my husband’s workbench area. He won’t let me touch it because he “knows exactly where everything is.”
But, I do wonder why we keep buying the same items two and three times. This is the way it plays out. “I know we have one of those such and such widgets somewhere.” We then go buy said item and then many months later stumble across the one we initially knew we had.
Sound familiar? I digress. For now. But I do hope to someday tackle that area!
While the garage’s exterior shows a clear separation of sides, the inside does not. I decided I would like to have a clear interior line of separation between the two garages. We already keep the trash and recycle bins between the two sides and now I’d like to carry it all the way across.
Solution 1- Create Zones
Much like a house with an open floor plan, it’s important to establish zones. These zones will make the space more efficient. Clearly defined areas in small garages are especially important.
You can create as many zones as your square footage will allow. It just needs to make sense. Here are a few zone examples: tools and workbench, sports equipment storage, lawn equipment, and even a shoe area. Just put like items with like items.
Garages are so multi-functional that they can become quite overwhelming. Create your zones, and it will also be easier to clean up after being organized.
You’ll know that your garden boots don’t belong with the soccer gear. Your weed whacker doesn’t belong with the paint and so on. Everything has its place, and you don’t want to go back to the way it was.
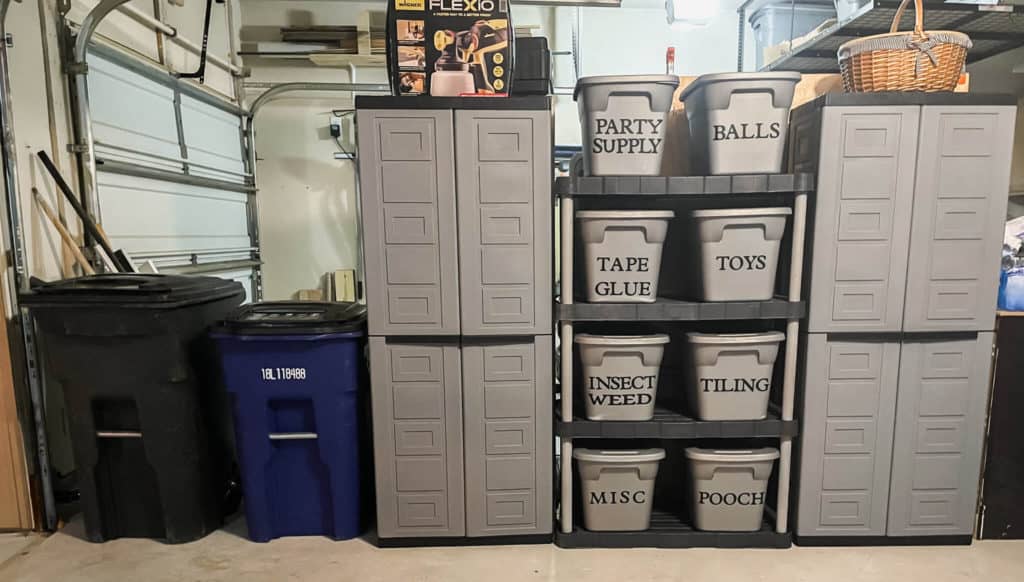
In our garage, we’ll go from the line we started with the trash cans and continue with two storage cabinets and a storage rack. This will help separate the two areas and provide useful storage.
Solution 2- Extra Garage Storage
I have two areas within my garage that I consider “extra” storage. In this post, I will discuss a storage rack and two cabinets. I will write a second part to this post where I will cover wall shelving and other vertical storage solutions.
The storage cabinets I’m discussing today were purchased online about 5 years ago. They are no longer online, but I vaguely remember them being in the $150.00 range (each).
If you go this route, I suggest using plastic cabinets to store lighter items. The shelves in these types of storage cabinets hold very little weight.
Although my exact cabinets are no longer available, there are so many on the market (especially online). I found this similar cabinet at Lowe’s.
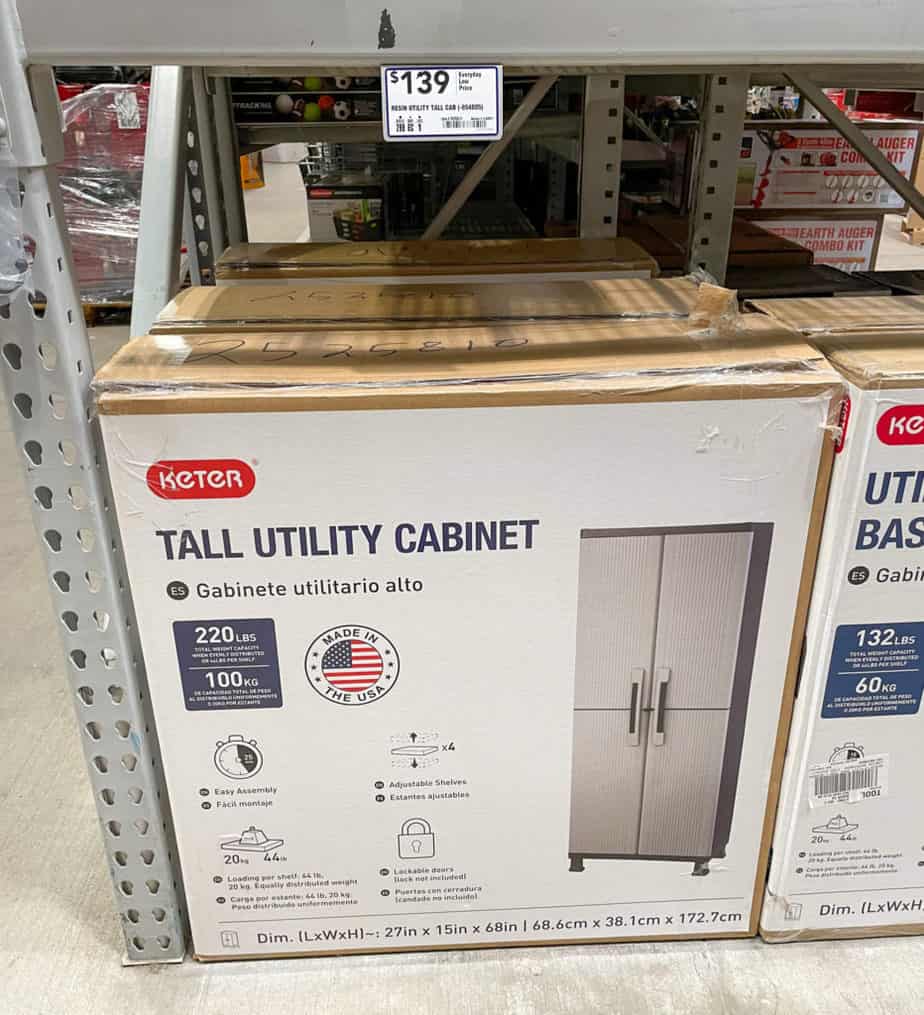
You can use cabinets or racks to create this zone and separation of your space. I used both because I already had them.
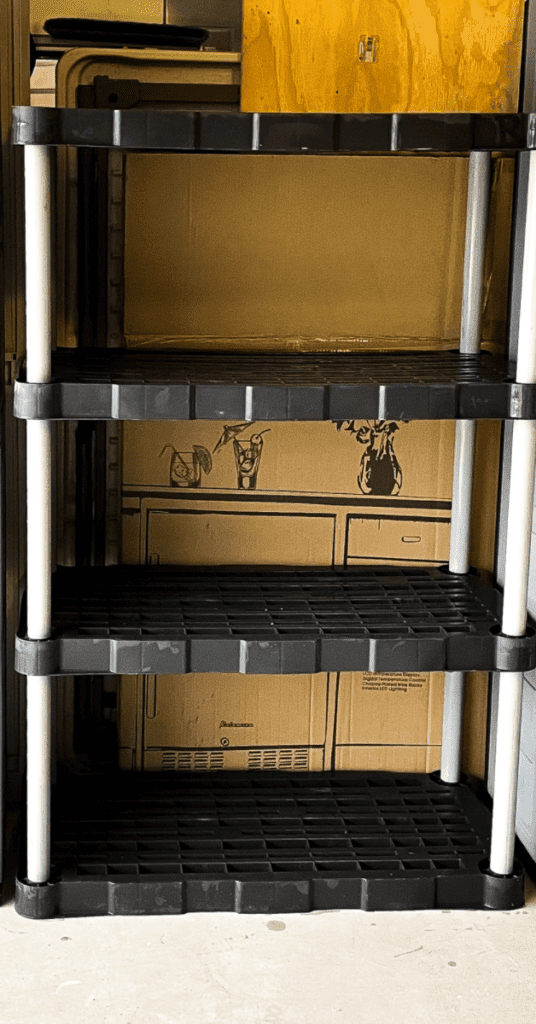
The cabinet below (on the left) had been used to hold gallons of paint and a mish-mash of other items. The right cabinet became a junk drawer on crack. I decided to clean them out and place them in a line. Next, I sandwiched a Rubbermaid shelving unit between the two.
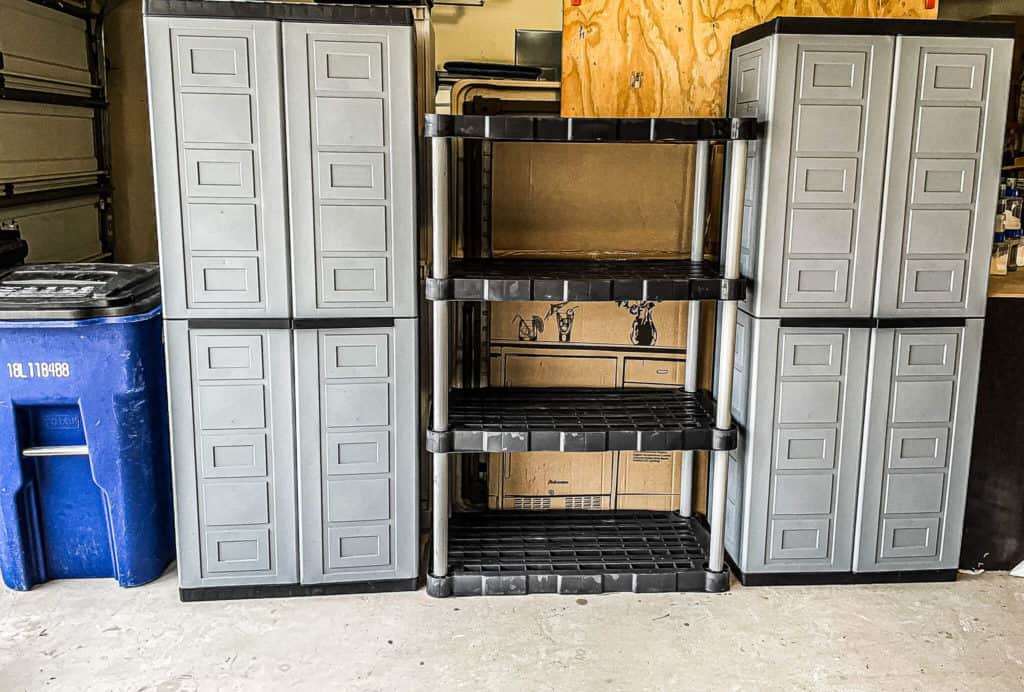
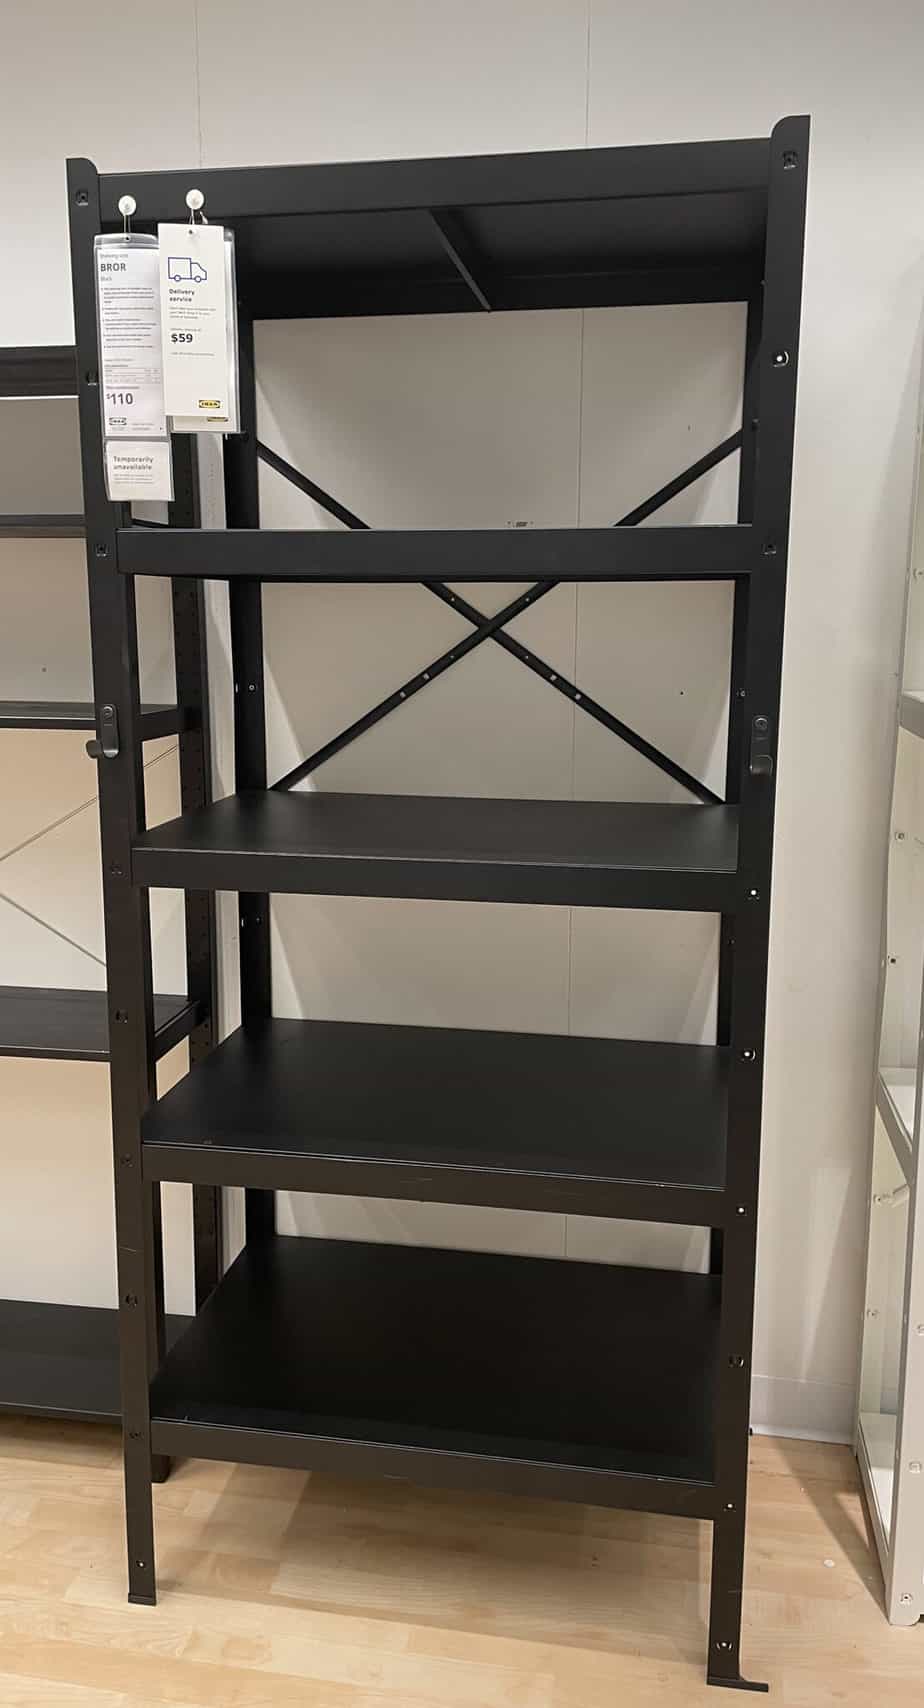
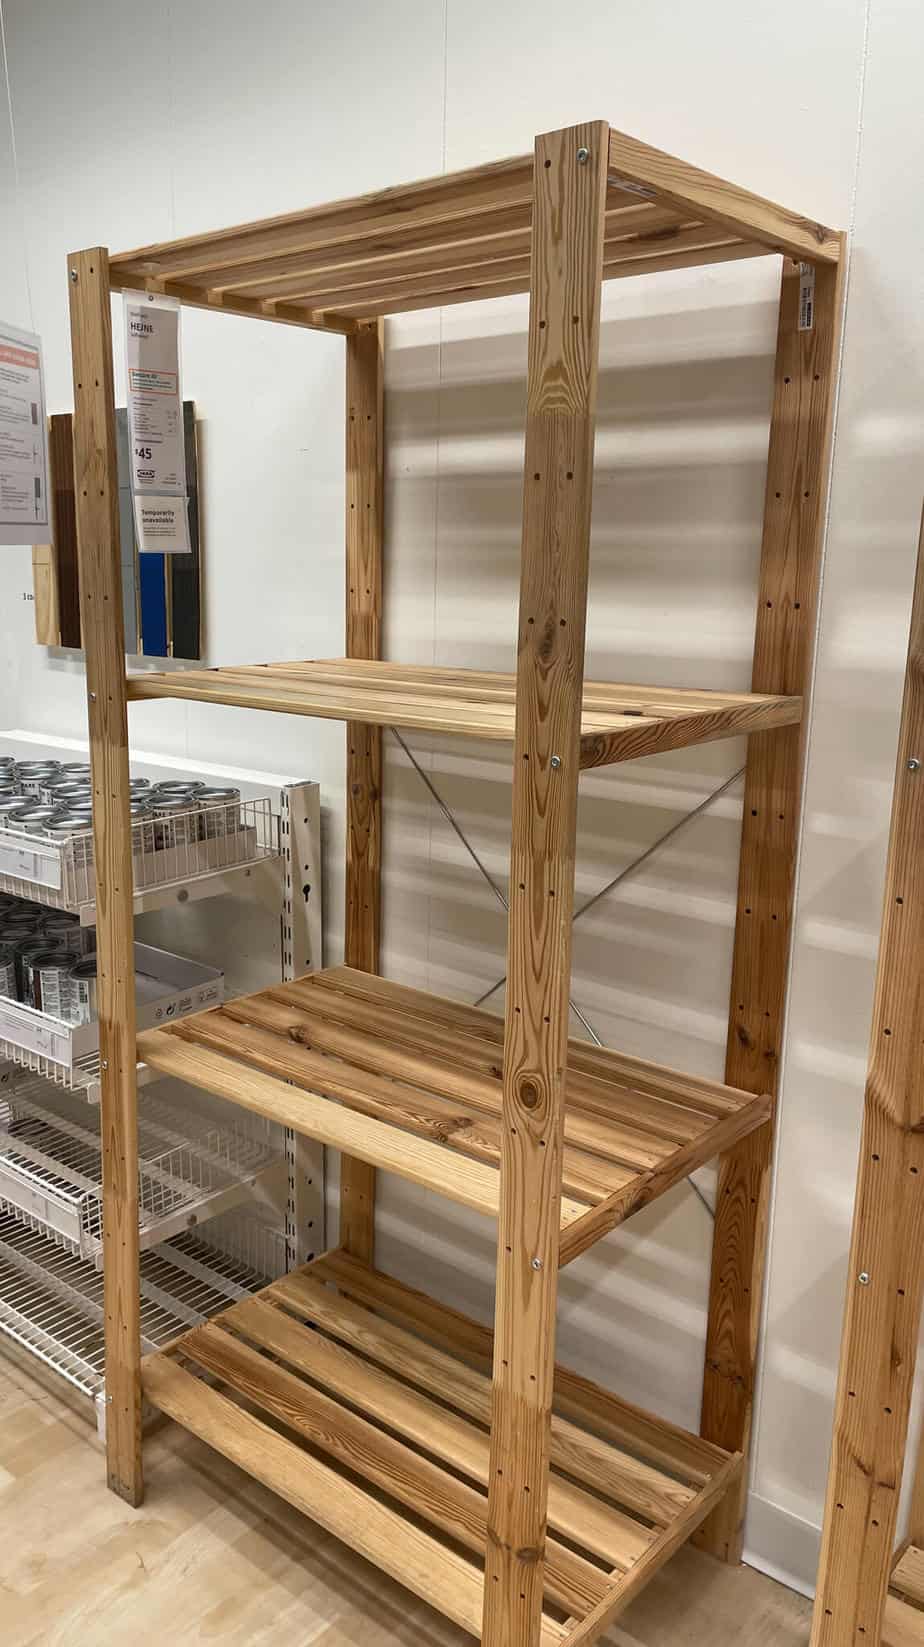
These types of shelving units can be made of plastic, metal, or wood and are easily found. We’ve had our cheap, plastic unit for probably 20 years. Similar ones can be found at Wal Mart, Home Depot, Lowe’s, and various other retailers. I found this metal shelf as well as this wood unit at IKEA.
Our paint storage cabinet posed a few problems. The first problem is that many of our paint cans have rust inside the rims. This can happen because of our salty, coastal location, or maybe they weren’t closed properly. Some even have rust all over the lid, as evidenced by the picture below.
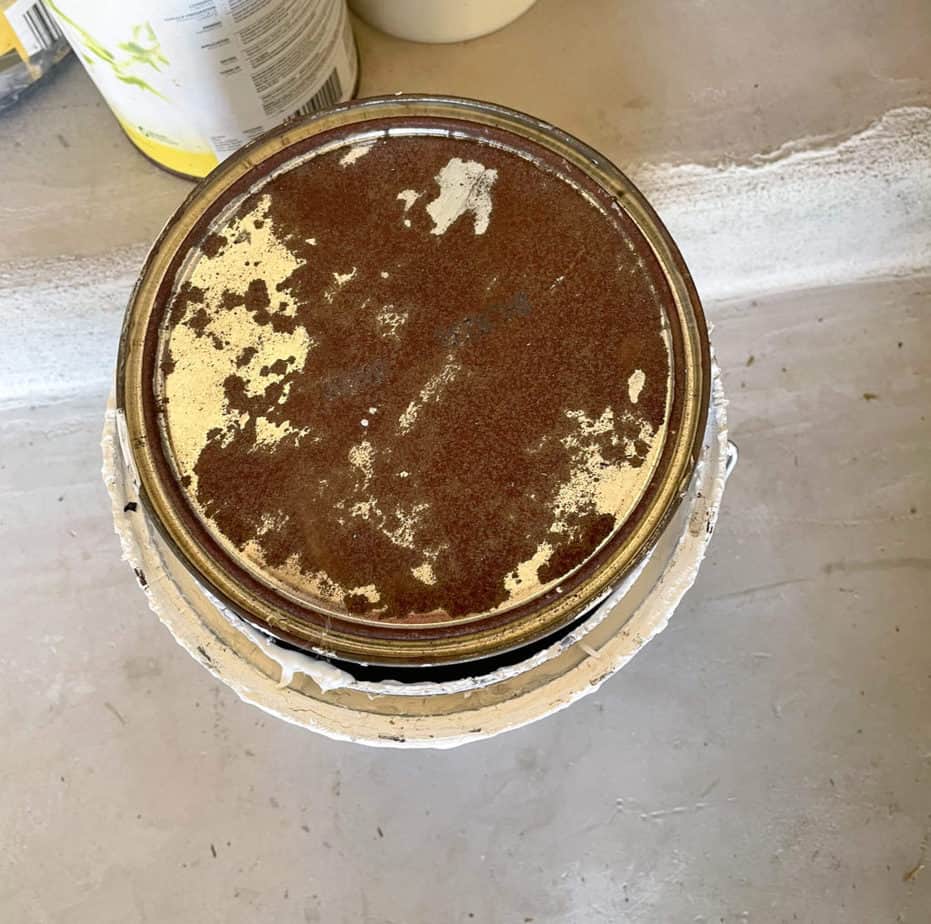
It is quite annoying when you open a can for a project or touch-up, and the rust flecks fall into your paint.
The second problem is the damage the paint cans did to the shelves. I shouldn’t have put such heavy cans on plastic shelves, but as they say, “hindsight is 20/20.”
The shelves are now severely bowed and, unfortunately, look terrible. But, they are still functional, so I can’t bring myself to get rid of them.
If you prefer to see a post that only shares perfect and pretty results, this post or this one should delight you. Alas, sometimes life isn’t all roses, rainbows, and pretty baskets. Sometimes we have to organize our ugly paint storage cabinet.
Since most of the paint is leftover quantities, they aren’t quite as heavy as they used to be. For this reason, I’ll continue to store them in this cabinet (rather than the rack where they would’ve held the weight better).
Solution 2- New Paint Containers
The solution I came up with for the paint cabinet is to transfer everything out of metal and into plastic.
All the paint I have will transfer into smaller, lighter plastic containers. Unfortunately, the shelves will continue to bow. But, hopefully, it won’t get worse.
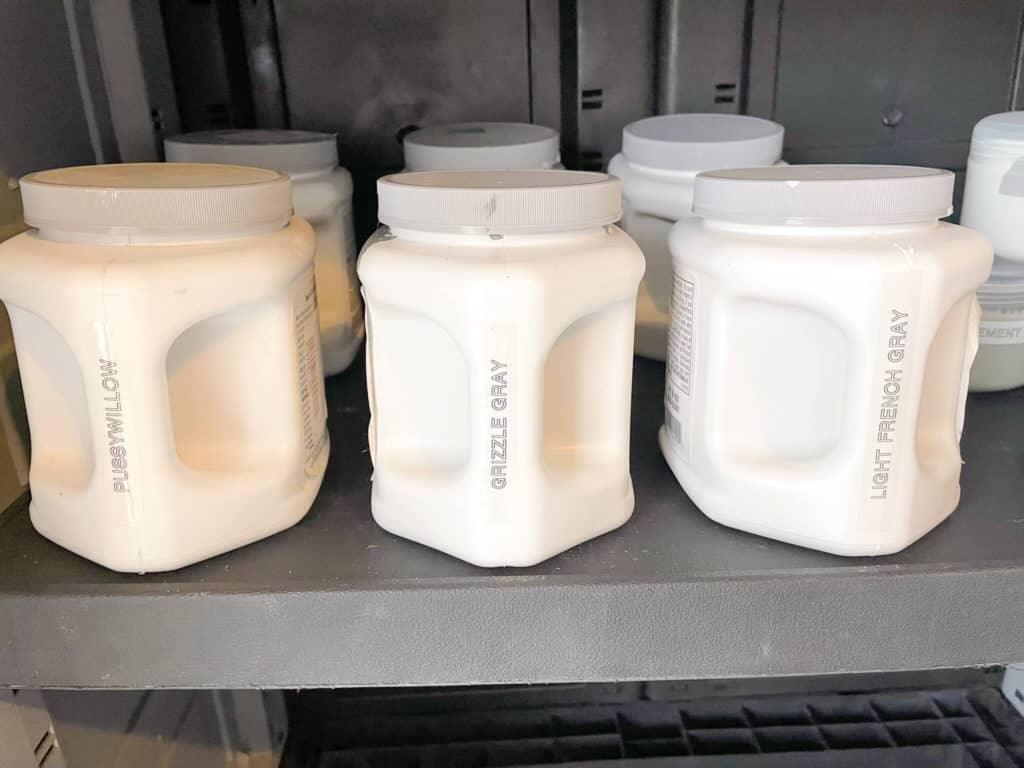
It’s always great when you find organizing products that fit your project perfectly. It’s even better when those products are easy on the wallet. There are so many paint containers on the market, but I scored most of my products at Dollar Tree. I only spent $1.25 on each container.

Ironically, the smallest were the most expensive. But it was a small difference and didn’t break the bank. I bought these in two sizes and they were $1.49-$1.99 at Hobby Lobby.
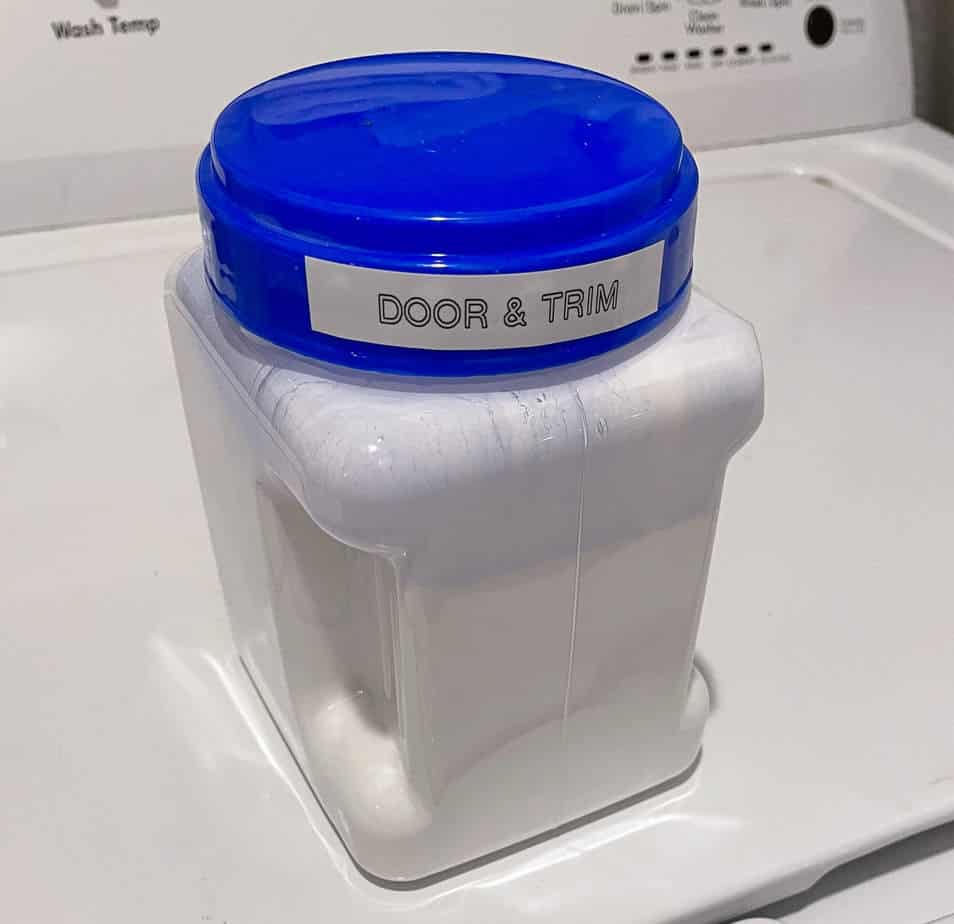
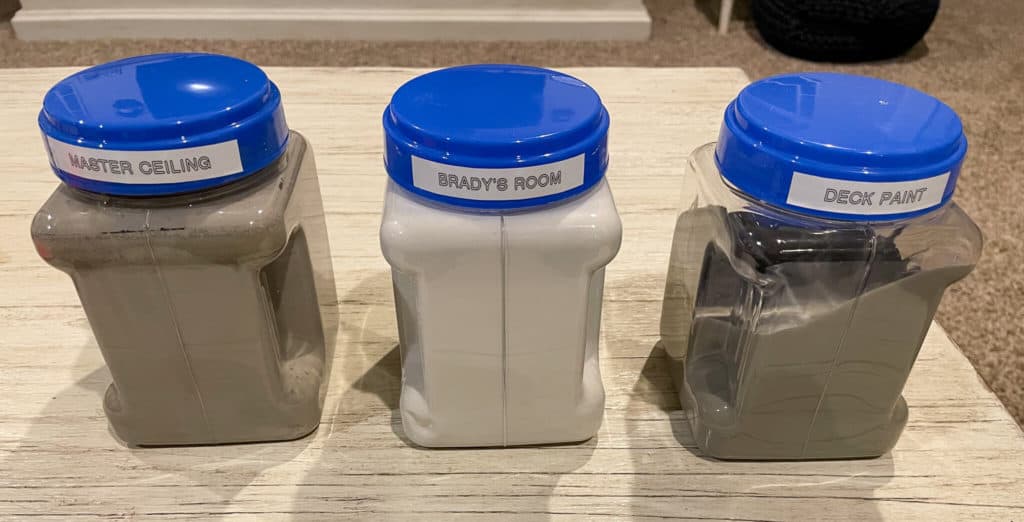
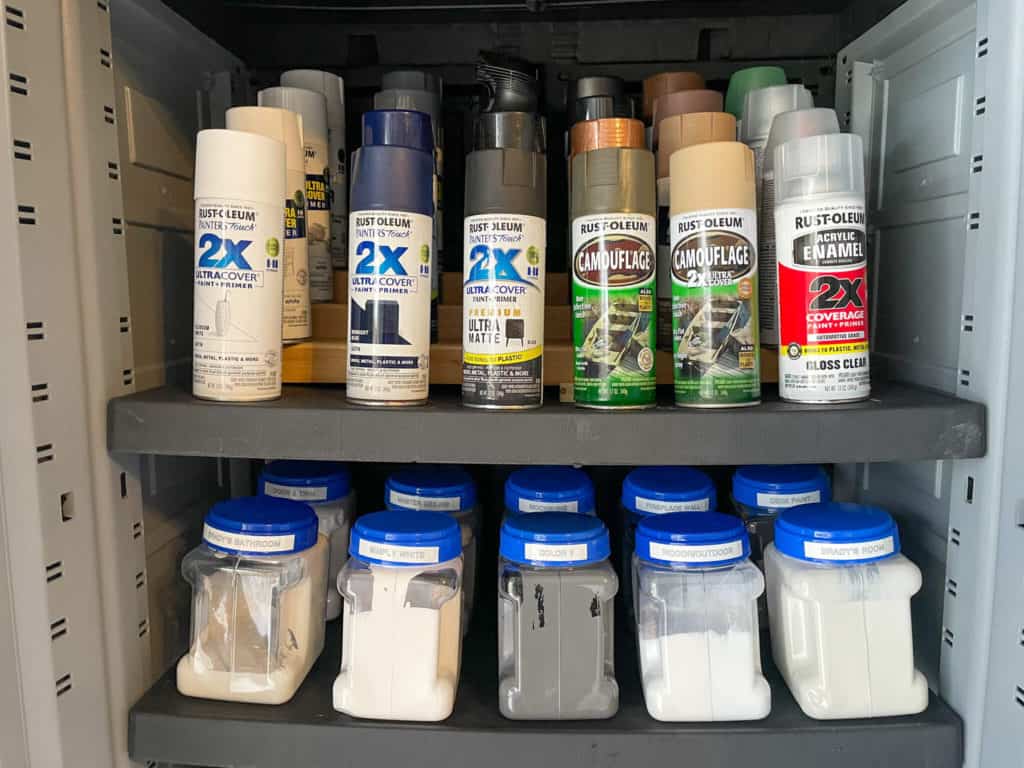
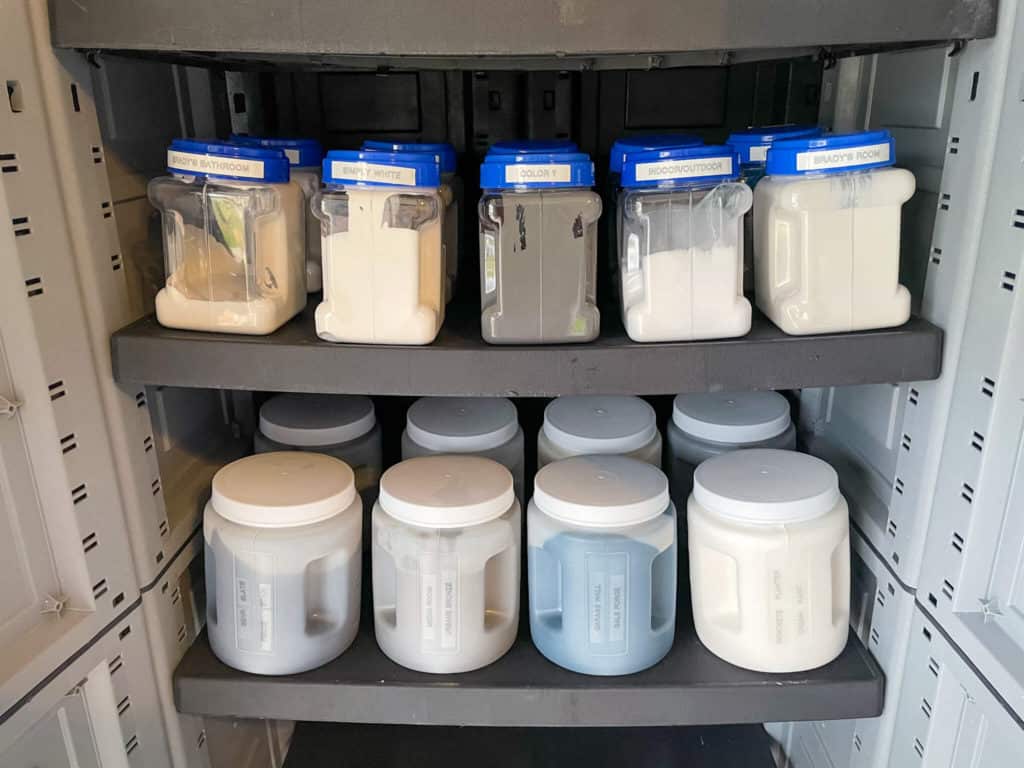
I was happy that the two qt containers had a handle built-in. This makes it easy for pouring, but it was also a convenient spot for labeling the product.
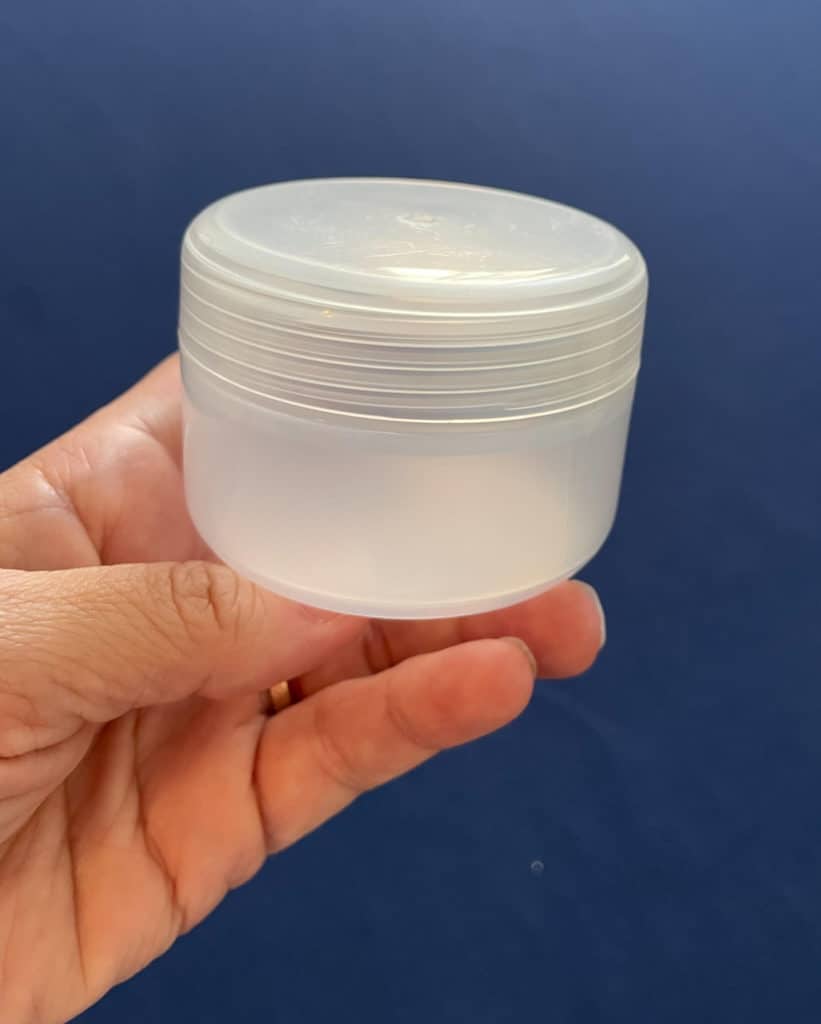
The blue-lidded containers (also from Dollar Tree) were one quart-sized. These were perfect for smaller amounts of leftover paint.
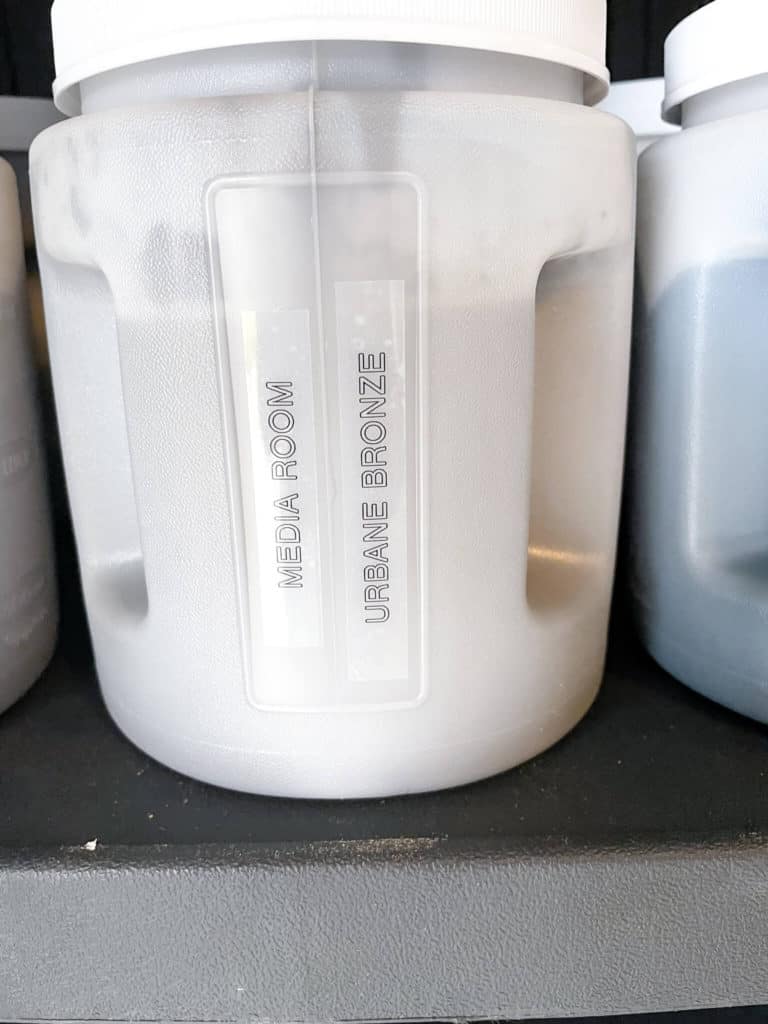
The last bit of paint was from Sherwin Williams. I am a big fan of Sherwin Williams’ sample packaging. There is no need to replace it because it’s not too heavy, the container is plastic, and it has a nice handle.
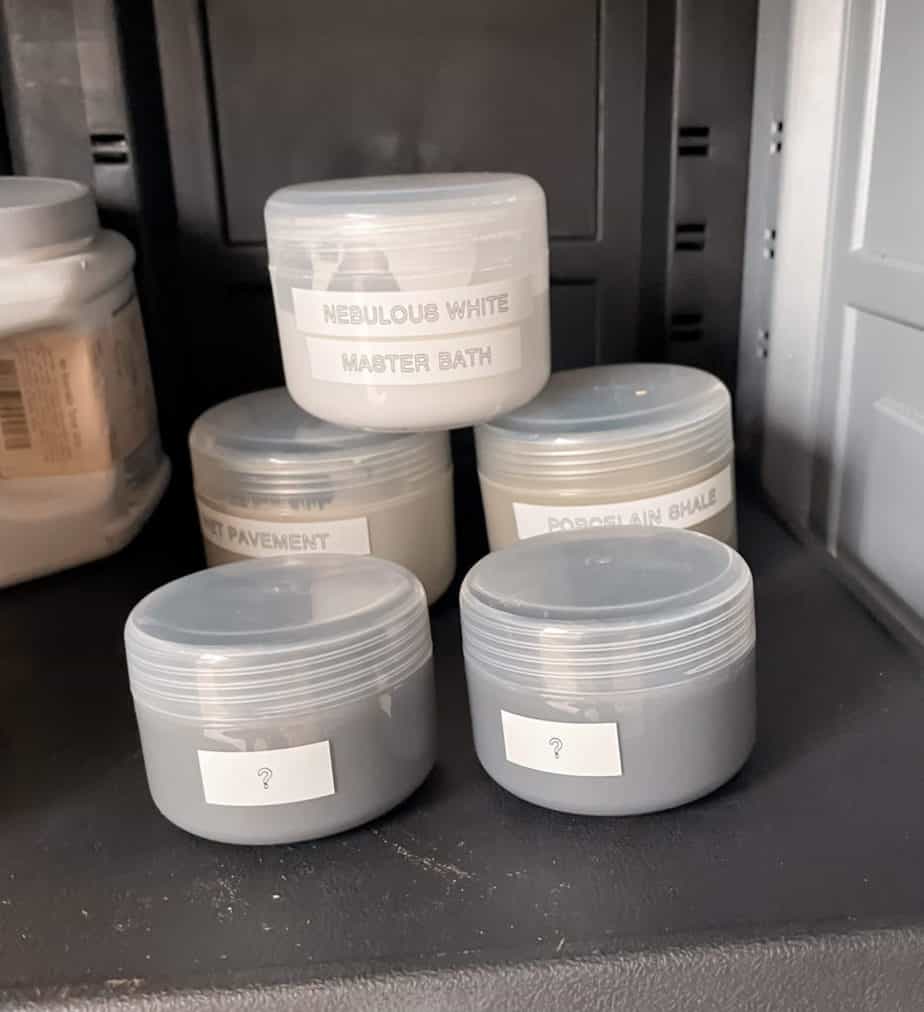
Finally, a few paint cans had labels so old I could no longer read them. There were also a few that had very little paint in them. I was afraid to toss them because we may need them for touch-ups. These small amounts were the ones I put into the Hobby Lobby containers.
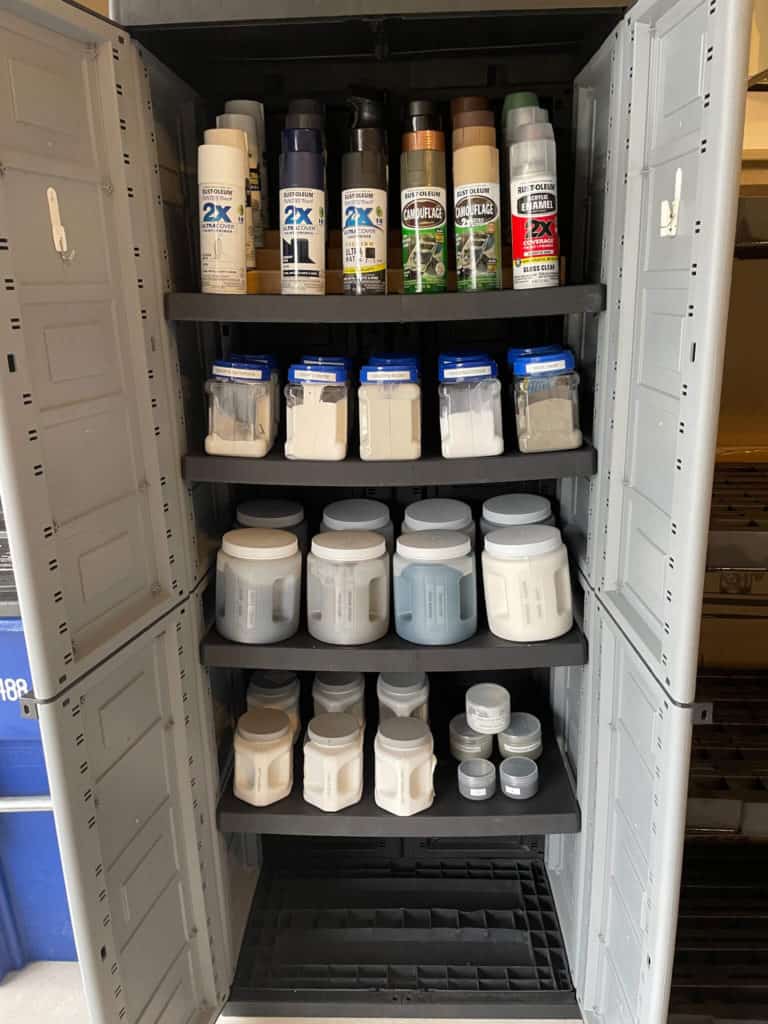
After all the paint is transferred into its new container, I can now organize the shelves.
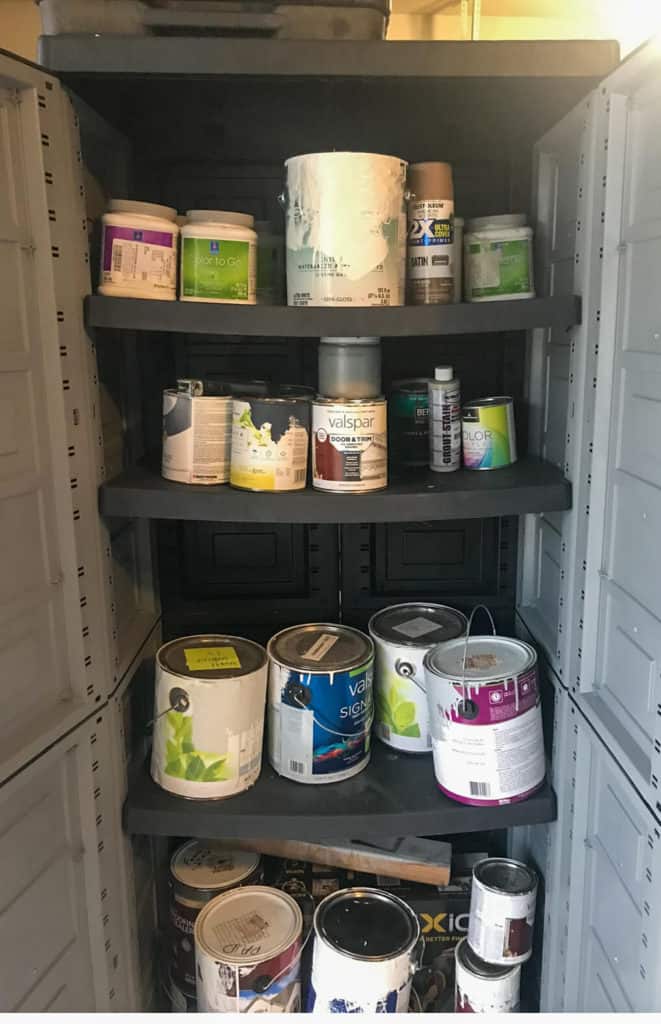
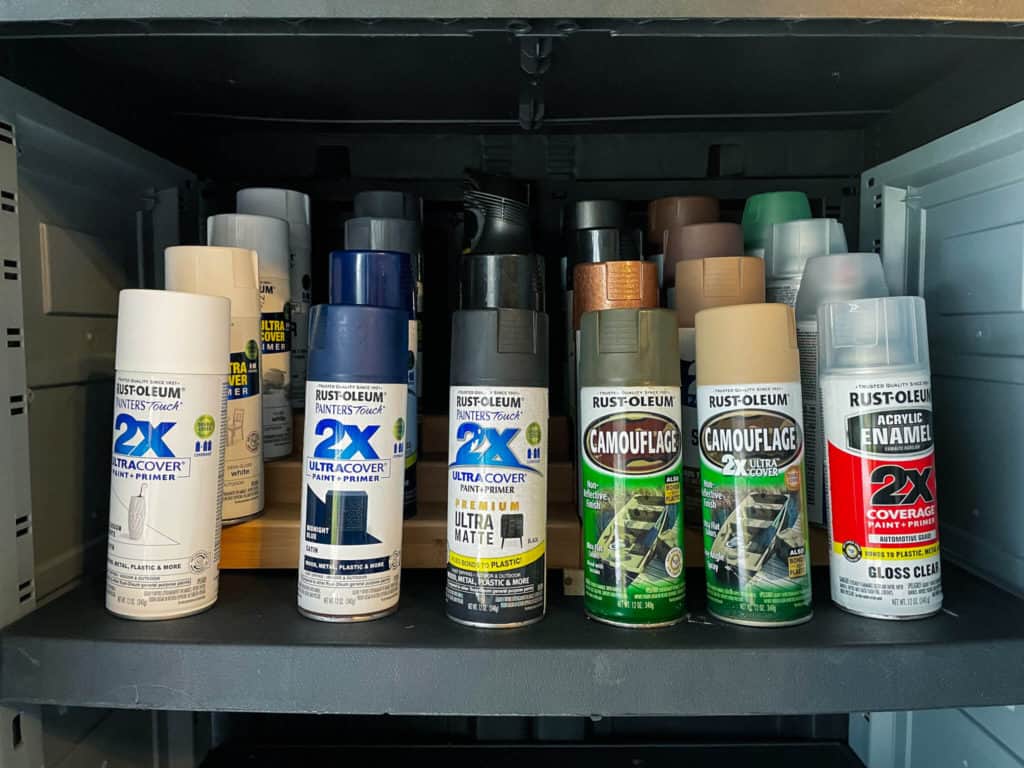
I’ve kept all my spray paint cans in a bin in the past. I wanted them all in this cabinet and displayed in a way that I could easily find the color I wanted. I purchased an expandable spice rack from Walmart for $15.00 to display all the colors.
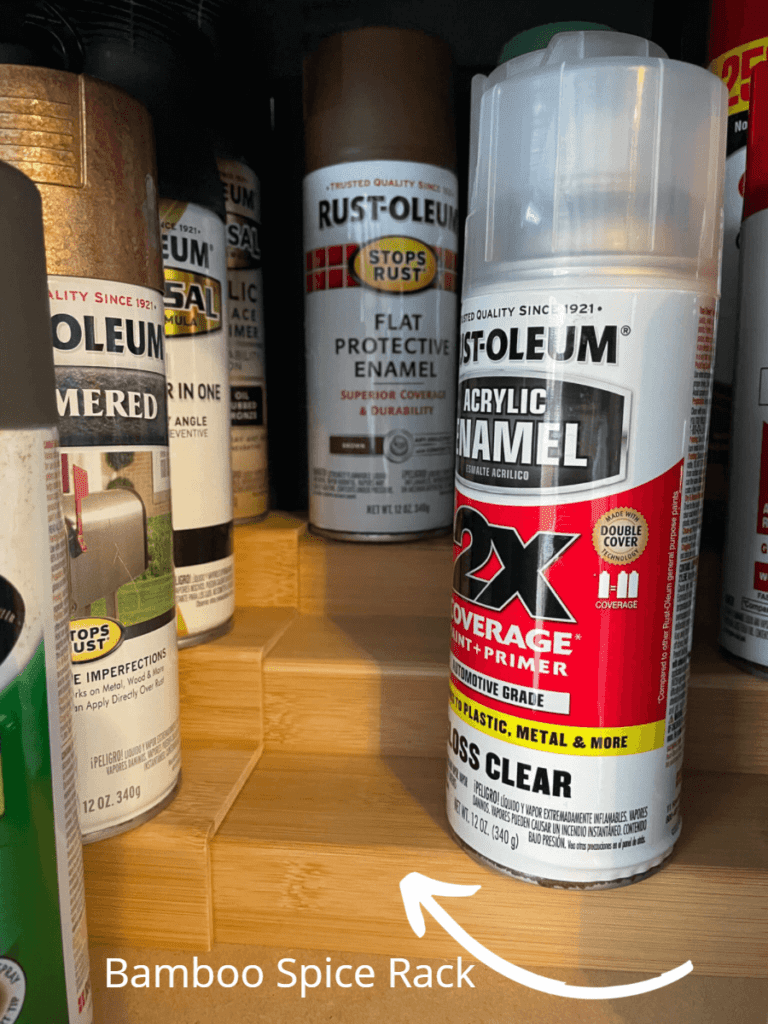
The paint takes up a good majority of the storage cabinet. Yet, I still have room at the bottom if I need to add anything down the road.
Now that the paint cabinet is finished, I can move on to filling the shelving unit. This space will be much less involved than the paint cabinet.
As stated earlier, I will have a follow-up to this post coming soon. It will discuss an entire garage wall of shelving that will hold several 18-gallon bins.
Today’s post covers a small shelving unit holding 10-gallon bins. We want quick access to the items in these bins. The items don’t take up that much space, so I’m using the smaller storage totes.
As you can see in the picture below, we organized like items with like items. For example, the bin labeled “Tape /Glue” has painter’s tape, Gorilla Glue, super glue, Duck tape, caulk, clear silicone, and other adhesive-type items.
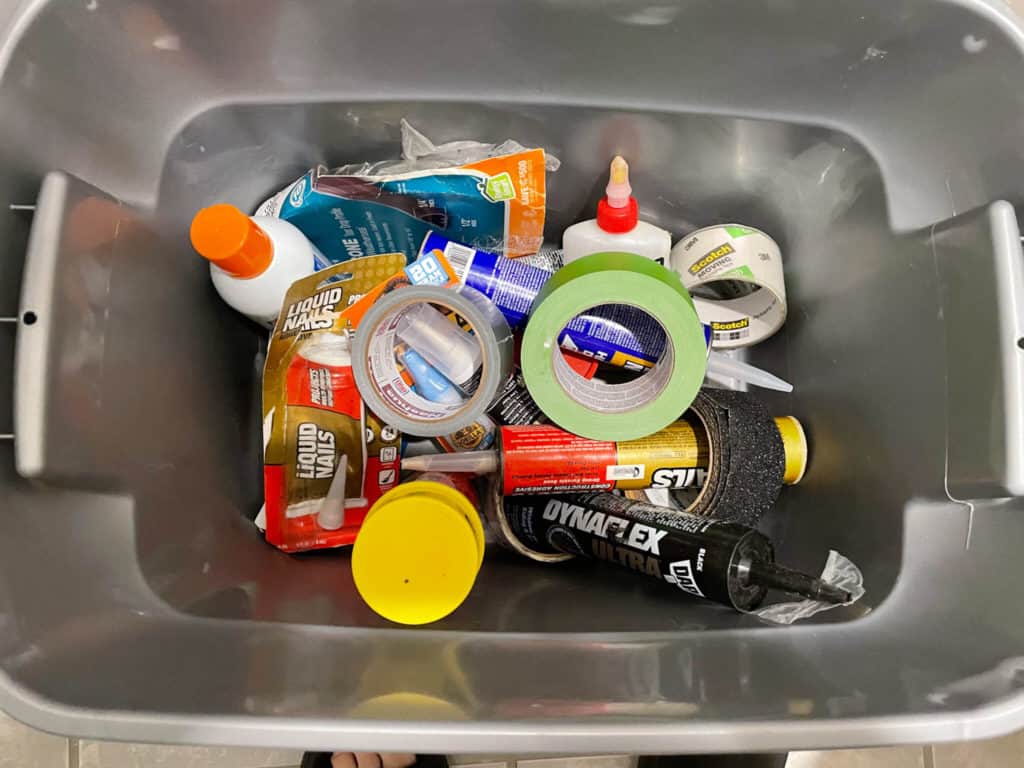
We continued this process until each bin was filled.
The last part of the project is the garden storage cabinet. This cabinet didn’t involve too much thought or effort.
I am not a gardener. I have tried for two seasons to grow vegetables and it was a total failure. The Texas heat seems to fry everything.
It’s a lot of effort for something you could quickly get at the grocery store. I do get it though. It must be very fulfilling and rewarding to grow your own food.
My gardening these days consists of caring for plants and flowers. I LOVE plants and flowers. I do my best to keep them alive and pretty, so I keep a few things on hand for the job.

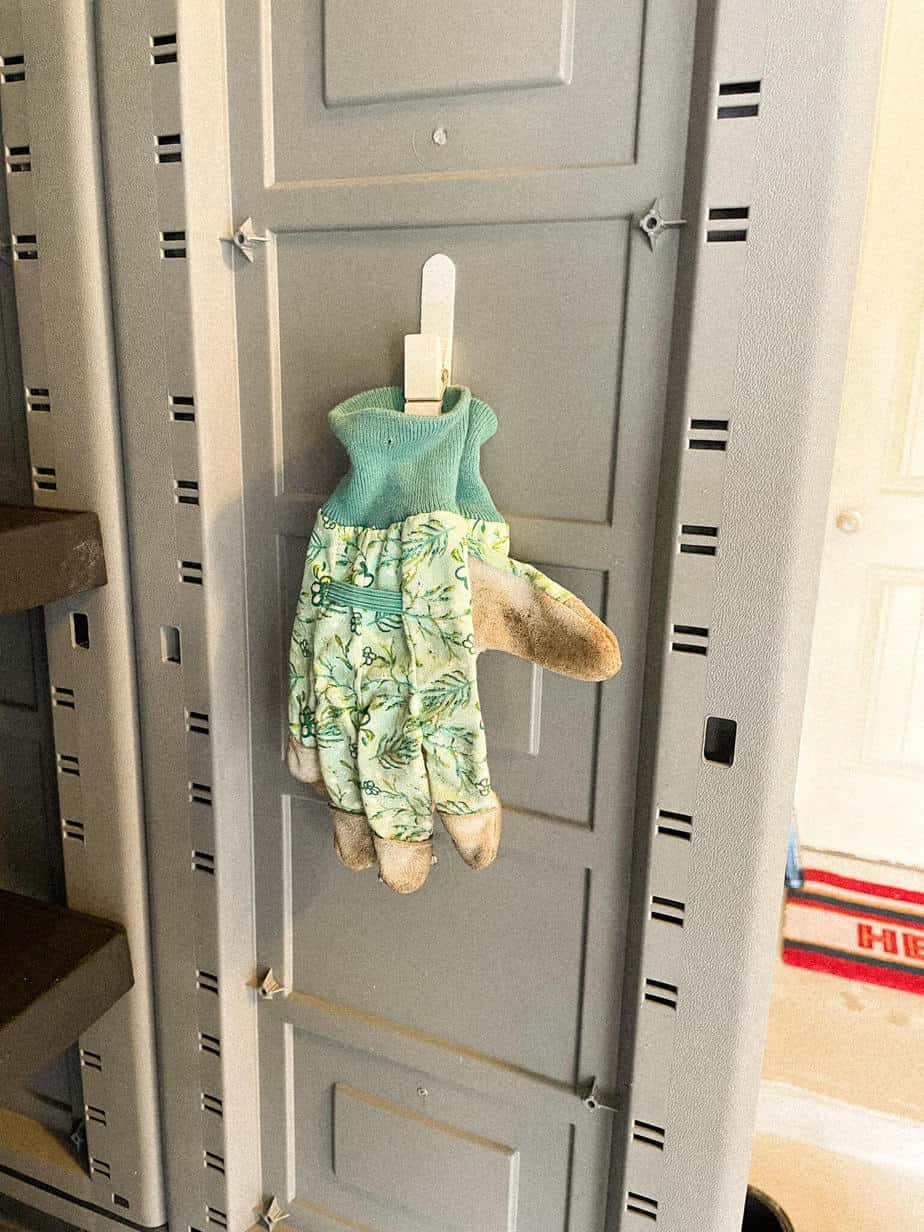
This cabinet holds the basics: pots, gardening gloves, soil, and garden tools. I also do the occasional flower arrangement inside my house, so I like to keep vases in the cabinet as well.
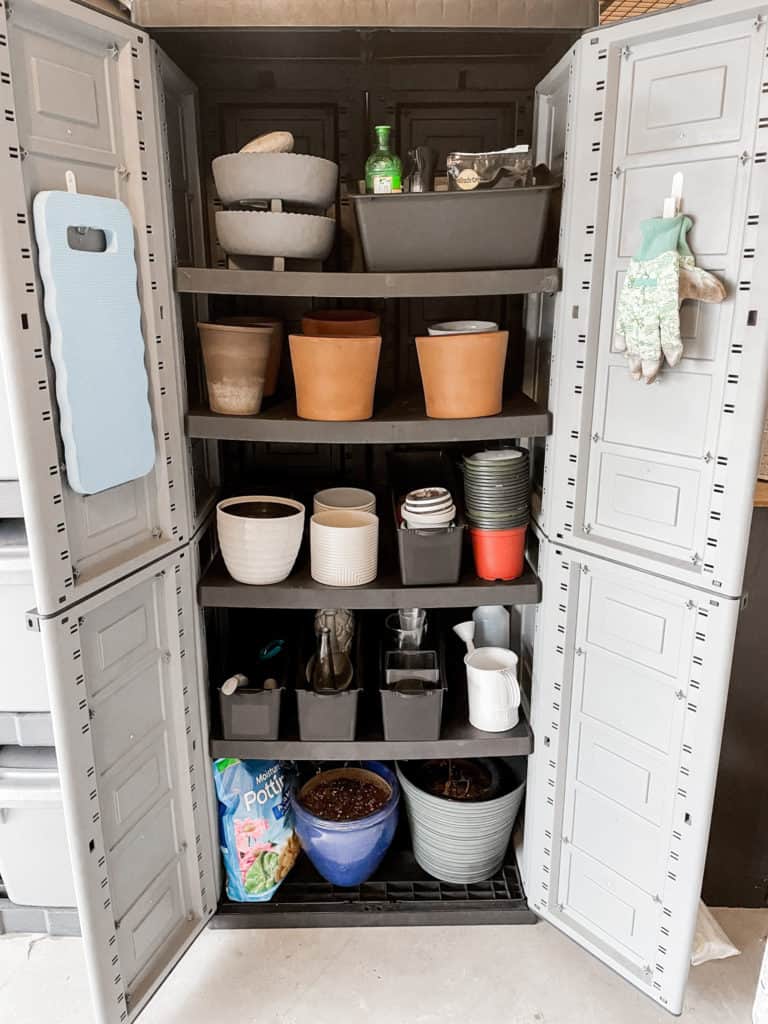
Because pots take up most of the cabinet, I didn’t need many containers. I grabbed these from Joann Fabric to keep some items separated. However, you can get the same result for less money with similar containers from the dollar store.
The only reason I didn’t buy my containers there was that I was trying to stick with a Gray and black theme. The dollar store only carries primary colors.
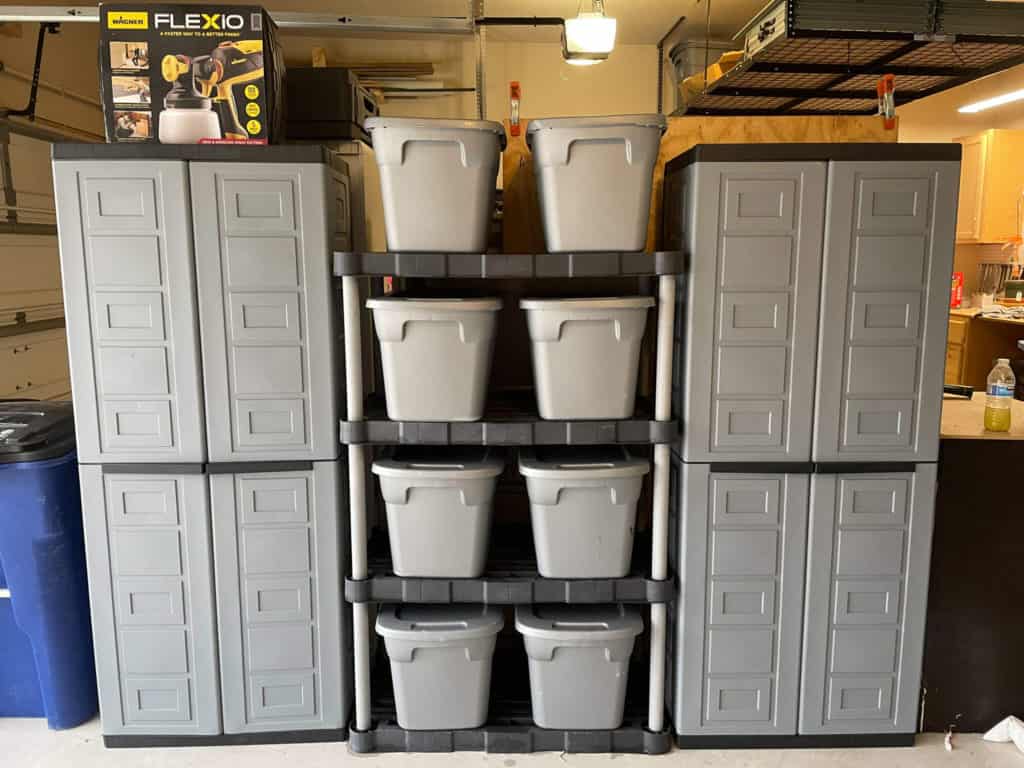
The pictures below show my finished cabinets and shelf. They successfully create zones and a clear line of separation for my garage.
The last detail is the storage bin labels. These labels were made with a Cricut.
Not all projects will be fancy and pretty. Sometimes they are an improvement to the function of the space, and that is pretty valuable! I hope I have inspired you to make your garage more functional. Share in the comments the area of your garage that frustrates you most. And, be on the lookout for part two of my garage series.
Thanks for reading!

2 comments
So hard to get rid of things you plan to use ‘down the road’ Our garage is a catch all for our flea market finds and projects for another day. No room for car or truck😆
I think many people can relate! If you can’t purge, try to at least categorize so it’s easier to find what you need.